Tuesday, September 1, 2015

Canned Jalapenos

This is a super easy one because I spent Sunday starting a leaf project with my children.  I just didn't have time to post and gather leaves.

I like to have jalapenos canned and stored for use on sandwiches, nachos, and anything else that suits my fancy.

You will need:  Sanitized jelly jars, rings, lids, canning pan, gloves, cleaned jalapenos, salt, and water.

- (Wearing gloves) Cut the jalapenos into slices


- Place the slices into jars, pushing down to fill max amount
(Don't fill past the rings on the jar to allow for water and air space)


- Add 1/4 teaspoon of salt to each jar
- Add water, leaving a bit of air space at top of jar
- Wipe of rim of jar
- Place lids and rings on jars, finger tightening lids


- Place jars in canning pan
- Boil for 15-20 minutes 
(I like to go 20 minutes to really cook the jalapenos and be sure the jars will seal)
- Remove from water and tighten lids
- Let cool for about 24 hours
- Verify seal on jars
- Store to enjoy later


Sunday, August 23, 2015

Sun Fire Salsa


I love homemade salsa.  HOT homemade salsa.  The first several times I made this salsa, it was a series of trial and error.  I just threw things into the pan until I finally got something I like.  I still may make some changes but for now, this is the recipe:

- 30 peeled tomatoes

Peel by putting in bowling water for a minute, then an ice bath for a minute.


Once peeled, squish by hand in a large pan - seeds, juice, and all.  I like to do this by hand because I feel like the tomatoes break down better.  If you want an even more broken down tomato base, get your hand mixer and mix for a few minutes on medium/low.

Put pan on stove on medium heat. 

- 3 grilling peppers 
- 10 hot banana peppers
- 25 jalapeno peppers
-3 Caribbean red habanero peppers
- 2 chili peppers
Use the chop option on your food processor to nice little chunks


Add the pepper mix to your tomatoes. 
Add 4 teaspoons of salt.

-10 sage leaves cut finely.

I start by washing, then cut out the stems.  Once I have strips I finely chop.  Add to the pan.


Cook on medium heat, stirring occasionally.  
I don't have a set time that I cook the salsa mix, just until I feel the flavors are spread nicely throughout the mix.


Spoon into jars (these should be sanitized.  Also boil the jars before spooning in the hot salsa mix to help avoid breaking)
Add canning lids, put in boiling water bath for 15 minutes.
Once out of boiling water, tighten lids.
This makes about 7 pints with just a bit left over to enjoy immediately.
Once open, keep refrigerated.


Sunday, August 16, 2015

Best Green Bean Side Dish

I make green beans all the time as a side dish.  A big part of that is because of the quantities I can during harvest time.  Thankfully everyone in my house loves green beans especially prepared like this.

- One pint of precooked green beans, water and all, to a pan

You can of course use fresh uncooked green beans.  If you decide to do so, cook for about 20 minutes.

- Add salt and pepper to taste

My husband and I prefer more pepper, but I go light on the pepper for my girls who are sensitive to the heat.

- Next add 1 tsp of power chicken bouillon 


- Simmer until hot or until the rest of your meal is complete.


Wednesday, August 12, 2015

Making Dream Catchers

This is a fun project I found on Pinterest from another blog.  We decided to give it a try.  Twice.


Start with paper plates, yarn, crayons, sissors, a hole punch, beads and feathers.


Cut the center out of the paper plates.


Color the ring.  Or paint if you prefer.


Use the hole punch to evenly space holes around the inner edge.


Cut a long piece of yarn.  
Tie to one of the holes.
Weave the yarn through the other holes.


Tie off the last end.
Punch a hole in the top and tie a piece of yarn as a hanger.


Punch three or four holes along the bottom.
Add beads and feathers to pieces of yarn.
Tie each to one of the bottom holes.


Hang up and enjoy.


Sunday, August 9, 2015

Fajita Sandwiches

This is a favorite of my husband's.  


                                         You will need:
- Fajita Chicken (1 cup per sandwich)
-Fajita Seasoning
-Texas Toast (2 slices per sandwich)
-Jalapeno Cheese (Or your own favorite)
-Peppers and Onion slices, if you like


Butter the top piece of bread for your sandwiches
Mix the fajita seasoning with 1/2 the water called for on the package to create a spread
Spread the fajita season mix on the bottom piece of bread 


Add chicken on top of the fajita spread
(If you choose to use slices of peppers and onions add on top of cheese)
Add a slice of cheese on top of the chicken


Broil on medium heat until cheese is melted and top slice of bread is toasted.

These are so easy, very filling, and absolutely delicious!


Sunday, August 2, 2015

Frozen Blueberry Pancakes

My son loves pancakes for breakfast. Unfortunately I am not home most mornings to be able to prepare pancakes for him.  These easy, frozen pancakes are a great way for him to have a breakfast he enjoys even when I'm not there to make it.

I start out with fresh picked blue berries when I have them available.  There is a great berry farm near my home that has U-Pick blueberries.  My kids and I love to pick, and these pancakes are just one of the ways we use our bounty.


 -  Start out by washing the berries
- Lay out on paper towels to dry
- Follow the directions on your favorite pancake mix

I like to use a simple add water only pancake mix.  You can use a more complicated mix if you like.  Or if you feel really ambitious, make the pancakes from scratch.

- Once the pancake mix is ready, add as many blue berries as you like
- Mix well but be careful not to crush the berries


- Make your pancakes following the directions on your mix


-  Lay the pancakes out on a flat surface covered in wax paper until cool
- Cover a large cookie sheet with a layer of wax paper
-Once pancakes are completely cool, place on pan on wax paper

You can add another sheet of wax paper on top of the pancakes and add a second layer, but don't stack more than two layers high.

- Place cookie sheet in freezer and leave for 4 hours
- Remove from cookie sheet and place in freezer safe, labeled and dated, gallon bag

When you are ready to eat just remove from freezer bag, place on plate, and microwave for about 45 seconds.  I usually do 25-30 seconds then flip them over and microwave another 15-20 seconds.  This is for 3 pancakes.  Adjust your times for fewer or more pancakes.

- Cover in your favorite toppings and enjoy!


Sunday, July 26, 2015

Bacon Wrapped Jalapenos

This is one delicious snack or dinner side.  I usually pair it with grilled sausages or cony dogs.  I take it as my dish at cook-out pitch-ins, too.

What you need:

Bacon - the same number of slices as jalapenos.  There is a store here where I can buy irregularly cut bacon.  Most of the time I can find a package with really good strips instead of odd chucks, and it is a couple dollars cheaper than the "regular" bacon.

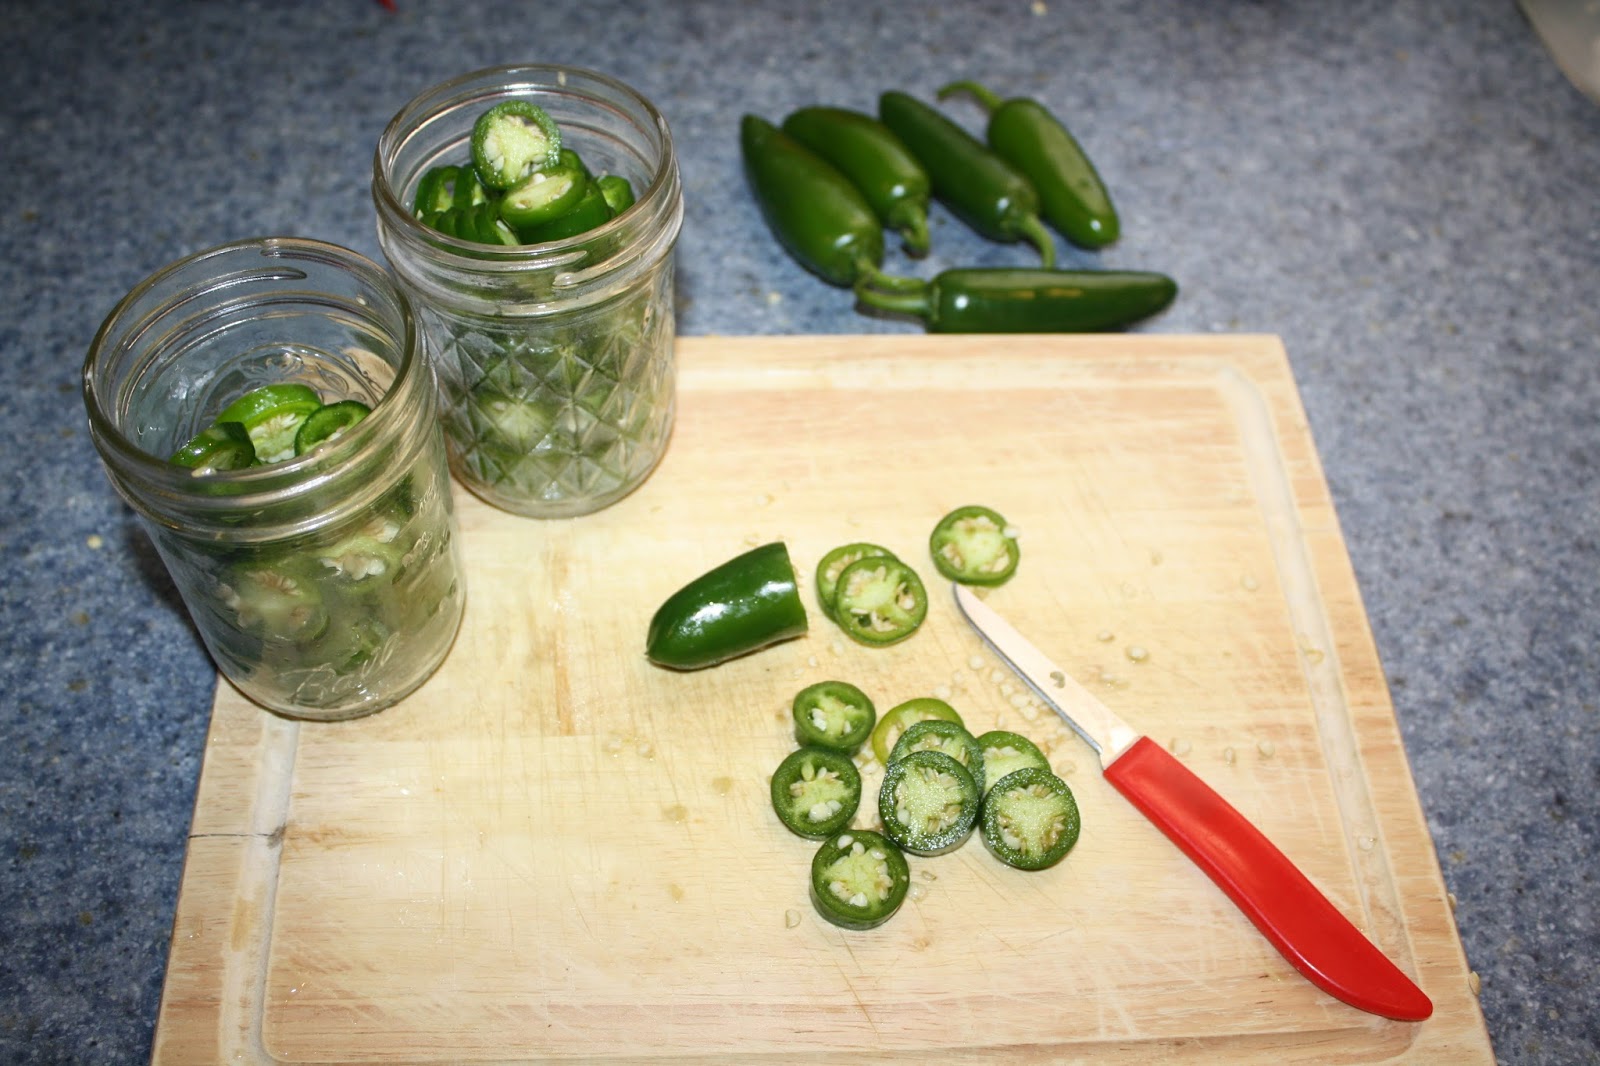
Jalapenos - I usually try to find 12-16 medium jalapenos.  I grow these in my garden, so I just go outside and pick what I like.  I find when I do need to buy them at a store, I have trouble finding smaller jalapenos.  I usually have to buy large ones and cut them in half, which means being very careful at the filling step.

Cream cheese - You only need 4 oz.  I buy the 8 oz package, cut it in half, and freeze the half I'm not using for later.  Let soften to room temperature.

Shredded sharp cheddar - You need very little of this.  I usually have some in my fridge from something else I've made, so I rarely buy a bag just for this recipe.  


- Wash the jalapenos
- Cut off the stems
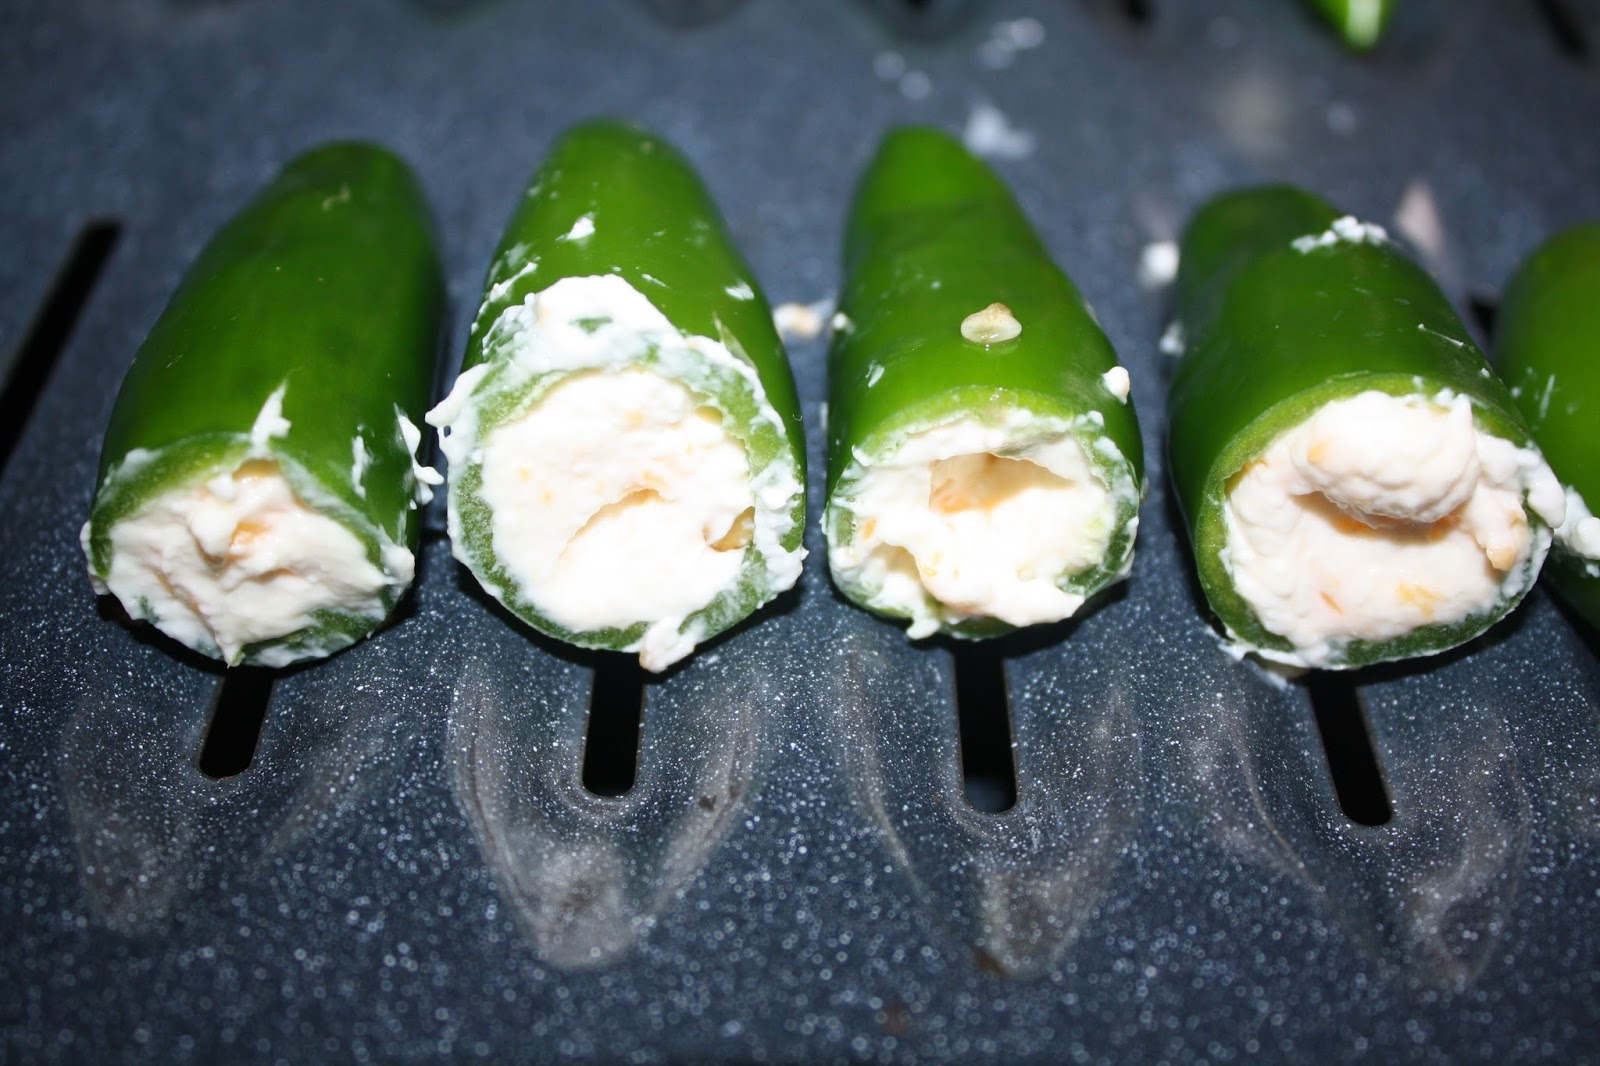
- Remove the seeds and centers 

I use the end of a teaspoon to remove the seeds.  It works well, and if the jalapenos are not too small, the spoon handle won't split the sides open.


I don't worry about getting every seed out of the inside.  You can rinse the remaining seeds out with water, if you like.  If you do this set the jalapenos up on end on a paper towel to drain out the excess water.


- In small bowl, mix together cream cheese and sharp cheddar.

I just guess how much each time, but it is about a tablespoon of the cheddar.  Use more or less to your own personal tastes.

If the cheese are not mixing well, microwave for 10-15 seconds to soften up the cheddar.

- Stuff the jalapenos with the cheese mix

I use the same spoon end from the seed removal to stuff the cheese.  In small (spoon end size) scoops I add the cheese until full.  Cheese mix should come to top of jalapeno.


- Wrap in bacon

I start by placing the end of a piece of bacon over the open end of the jalapeno, wrapping down the length then crossing to around the sides.  This helps hold the cheese inside.   

-Place on broiler pan 


- Broil on medium for 15 minutes
- Flip over and broil another 10-15 minutes

Keep and eye on the bacon.  Most of the time these times work out really well for me.  Sometimes I have to go longer, sometimes the first 15 minutes gets my bacon close to burnt.  If you only have a high heat broiler, start out with 8 minutes on the first side and adjust up from there.

Yum!


(These reheat well, too.  If refrigerated, microwave for about 30 seconds)

Sunday, July 19, 2015

Green Bean Canning


I absolutely love to grow green beans every year in my garden.  Watching them sprout up, grow and flower.  Seeing the tiny green beans turn into large green beans.  It is wonderful.  My favorite part, though, is the harvest.  

Each time I pick, I can the green beans.  I usually get 4 or 5 good picks from my plants so that's lots of canning opportunity.  


First thing to do is make sure you have the right supplies.
You will need sterilized canning jars, rings, and lids.


I prefer to mostly use pint jars, but I do also use a few quart jars.  A pint jar is enough for a side of green beans for my family.  You decide if you think quarts would be better.  You can also do all pint jars and just use two when you need more green beans.

Next, pick the green beans.


Wash them.

Then snap the ends off and snap them into smaller pieces.  


Add the green beans to your jars up to the top of the jar but not into the area that will be covered by the ring.


Add 1/2 teaspoon of salt to pint jars, 1 teaspoon to quart jars.  The salt acts as a preservative.


Fill the jars with water to just over the top of the beans but leaving space at the top.

Wipe the rim off with a towel to remove any water or salt. 

Add the lid.

Add the ring and finger tighten.

Place your jars in your canning pan.  Fill with water making sure the water is an inch or so above the top of the jars.  Don't go much deeper or it will take forever for your water to boil.


Boil jars for about twenty minutes.


Once the time boiling is up, remove your jars from the water and quickly tighten the lids.  Set them on a towel or other heat resistant surface until they cool.  As the jars seal, you will hear a pop from the lid.

Once they are cool, about 24 hours later, write the date on the lid and store for later use.

Canned green beans.